Part Time Tourists worked in partnership with Visit Idaho to create this Travel Tip.
The Route of the Hiawatha trail is considered one of the best rail-to-trail rides in the U.S.—and in Idaho—so it’s no surprise it’s being added to many bucket lists. Located in northern Idaho, the Route of the Hiawatha trail is a 15-mile, mostly downhill bike route that will offer stunning views, beginner terrain and a family-friendly experience that you’ll be talking about for years after. Below, you’ll find all the information that you need to successfully navigate this adventure with kids.
What to Expect on the Hiawatha Trail
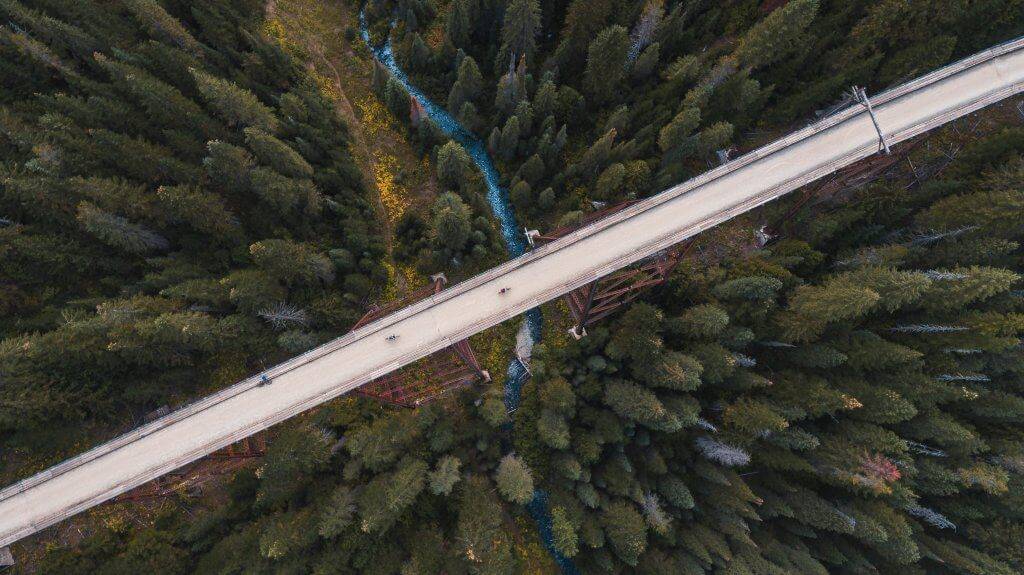
The terrain is rated as beginner, and we saw all ages and skill levels on the trail. So if you’re not an experienced biker, don’t let that deter you from enjoying this ride! During the course of the 15 miles, you’ll experience jaw-dropping scenery that can make it hard to keep your eyes on the trail. You’ll encounter 10 train tunnels and seven towering train trestles.
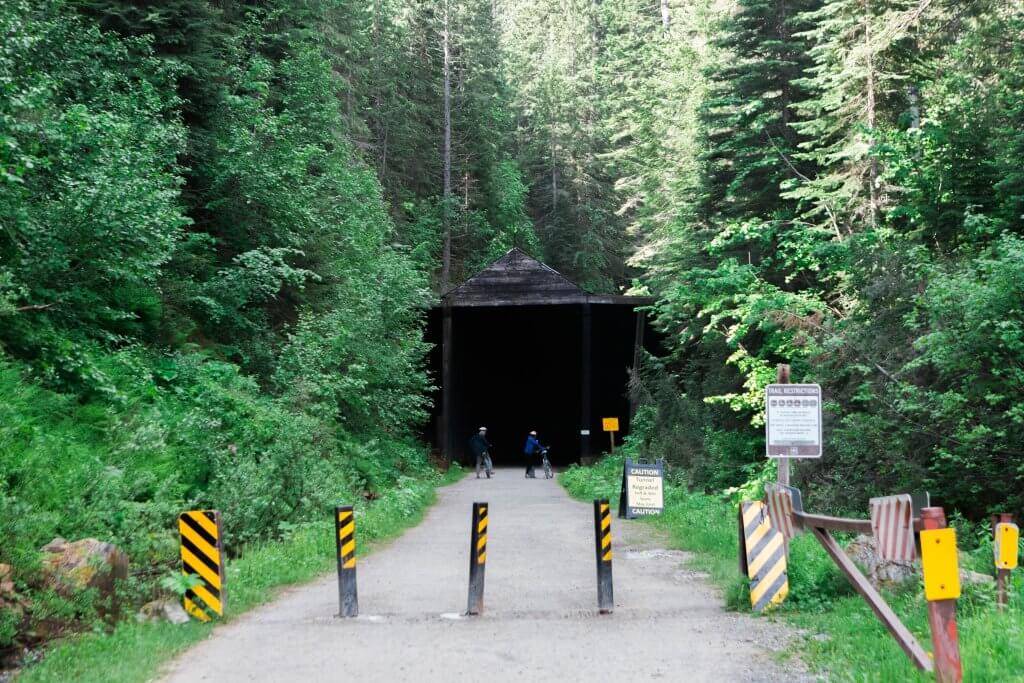
The first 1.6 miles are in a pitch-black tunnel that can be wet, muddy and quite chilly even in the height of summer. I recommend wearing a jacket during the first section and ensuring that the lights on your bike or helmet work correctly. You’re going to need them! Although it can pose a bit of a challenge right from the start, this is many people’s favorite part of the trail.
If you start first thing in the morning, you won’t encounter many people climbing back to the top. This is definitely the case, though, if you begin your adventure in the afternoon. Be sure to watch for this, especially in the tunnels! For families riding the Hiawatha bike trail with young kids, this trail can take several hours, so plan accordingly.
How to Purchase Hiawatha Trail Tickets, Rental Gear & Shuttle Passes
Tickets
Each year, this trail gets more popular, so buying tickets online ahead of time is strongly recommended. Your ticket reservation must be made 24 hours in advance. With the online system, you’ll need to choose a specific date when you plan to bike the trail. Typically the trail is open from the end of May to mid-September.
Rental Gear
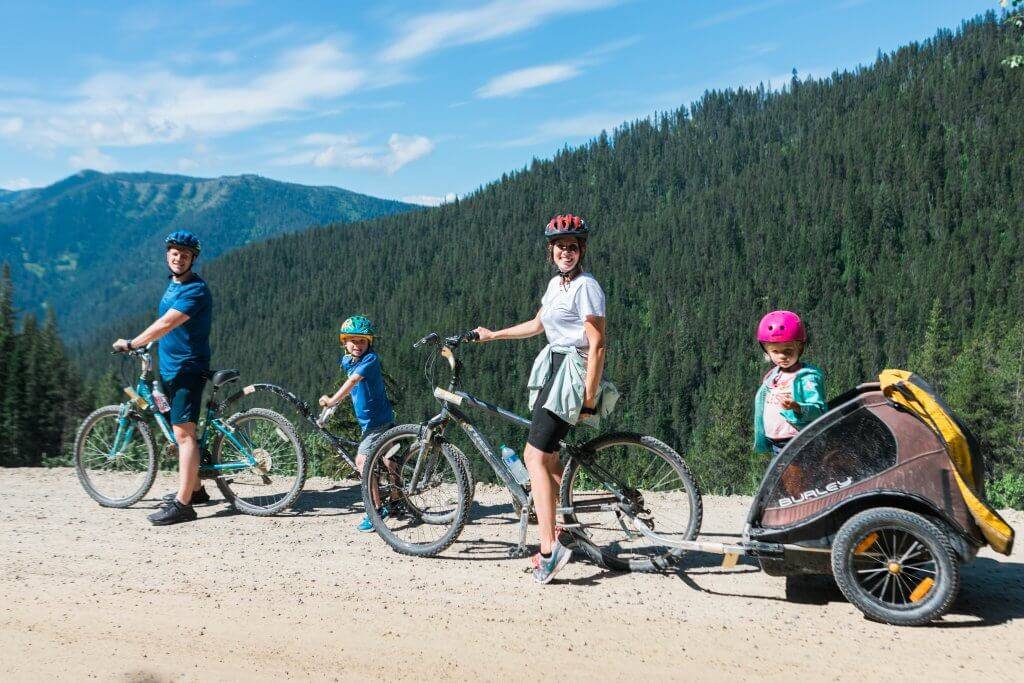
You are more than welcome to bring your own bikes, electric bikes, baby seats and trailers, or you can rent them through Lookout Pass. Lookout Pass offers several types of rentals for families with young kids. The first option is a burley trailer that can accommodate up to 60 pounds of weight, up to two kids and works great for older babies and young toddlers that can’t ride their own bikes yet. The other option would be to get a tag along bike—a single-wheel attachment that fits onto the back of the adult bike. If you are interested in renting bikes or trailers, it’s recommended to make those reservations two to three weeks in advance. All bike rentals include a complimentary bike rack so you can drive all your gear from Lookout Pass to the parking lot at the trailhead.
Shuttle Passes
Another decision you’ll need to make is whether you want to purchase shuttle passes or bike back to the top. For families riding the Hiawatha trail with young kids, it may be best to purchase the shuttle passes back to the top, as the additional hours added to the adventure may be too long. We personally loved using the shuttle to bring us back to the top after biking the 15 miles.
Getting to the Hiawatha Trail
The Route of the Hiawatha trail is about a 20-minute drive from the town of Wallace in northern Idaho. This is a great place to spend the night before biking the trail the next day. You’ll also find campgrounds in the surrounding area if you prefer that over a more traditional stay. I recommend staying close to the trail so you’ll be able to make it to the trail early in the day.
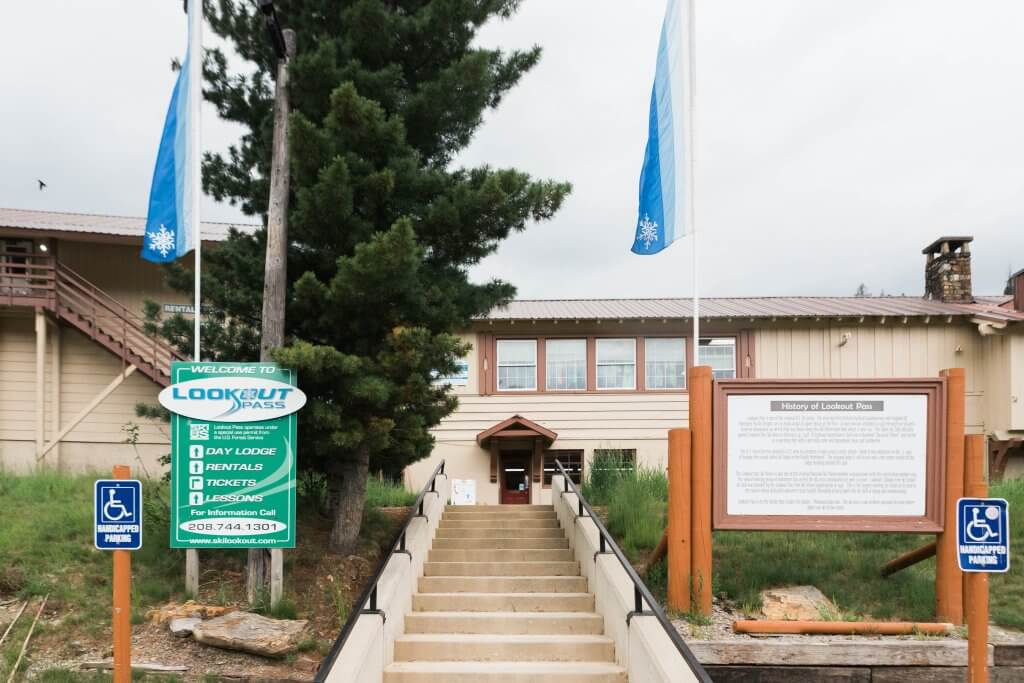
If you are renting or need to pick up your passes, head to the Lookout Pass Ski Area. The lines can be long during the summer months which is just another reason to get there first thing in the morning. Afterward, you’ll drive to the trailhead which is under twenty minutes from Lookout Pass. Make sure you snag a map with driving directions as cell phone service is spotty in this area of the state.
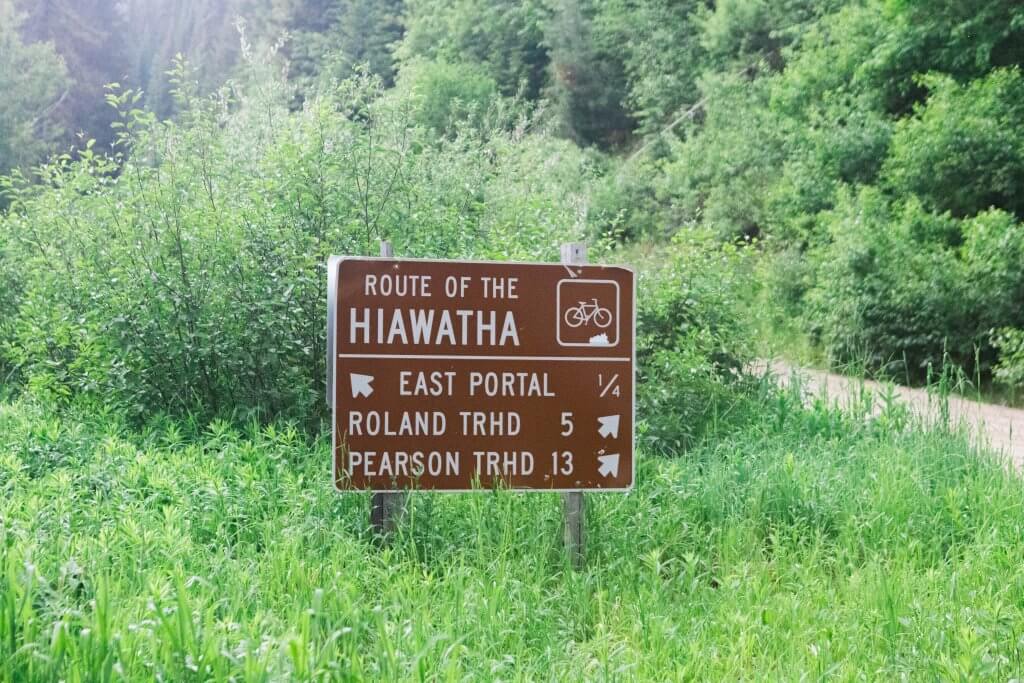
You’ll follow the signs to the East Portal /Taft parking lot. If you opted for rentals, this is where you’ll pick them up (and drop them off). There are several parking lots at the East Portal, but they tend to fill up quickly.
Tips, What to Wear & What to Bring
The Hiawatha bike trail is incredible for all ages, even your little ones! With that said, a little planning will make this adventure one that you’ll want to do again and again. Below are my top tips if you want to conquer this route with young kids.
- Riders 18 and under are required to wear a helmet.
- Know that it’s okay to stop for breaks. Most young kids will need to take at least one break during this adventure, whether it be to get out and stretch, eat, drink or maybe even a diaper change. There are some places to stop along the trail that are wider and allow you more space to park your bikes.
- Wear comfortable, moisture-wicking clothing that you don’t mind getting muddy. Depending on weather, you may also want to consider bringing layers for cool mornings and warm afternoons. Don’t forget sunglasses!
- Bring sunscreen. There are not many shady portions of the trail if you’re biking midday.
- Bring lots of snacks, water and maybe even lunch. We did encounter one water refill station, but I wouldn’t count on that. Bring enough water that will sustain everyone for at least half a day.
- Bring a first aid kit in case you or your kiddo takes a tumble on the gravel.
- If you’ve got little ones in a bike trailer, bring a few toys that they can play with inside the carrier.
Want to add some power to your pedal adventure? Check out Idaho’s E-Bike Scene.
Feature image credited to Visit Idaho.
Jess Darrington is the founder of Part Time Tourists, a travel and adventure blog that was created in 2018. Part Time Tourists aims to help people travel more by offering detailed travel guides and practical tips. With a large focus on U.S. travel, Jess shares adventurous and luxurious destinations throughout the country. You can follow her on Instagram and PartTimeTourists.com.
Updated on May 15, 2023
Published on August 23, 2022
